Why Metal Roof Installation Is a Smart Long-Term Investment
Metal roof installation is one of the fastest-growing home improvements in America, and for good reason. Homeowners are finding what commercial property managers have known for decades: a properly installed metal roof delivers best long-term value. As a leading provider of expert metal roofing services, we know that professional installation is the key to open uping these benefits for decades to come.
If you’re considering an upgrade, here’s what you need to know:
- Lifespan: Metal roofs last 40-70 years, compared to 15-20 years for asphalt shingles.
- Installation: Professional installation is critical to achieving this longevity.
- Cost: While 2-3 times the upfront cost of asphalt, metal delivers superior long-term ROI.
- Energy Savings: Reflective properties can significantly reduce cooling costs.
- Expertise: Complex roofs require specialized knowledge in flashing and fastening.
The difference between a metal roof that performs for half a century and one that leaks after a decade is installation quality. Unlike asphalt shingles, which can be forgiving, metal roofing demands precision.
As CEO and co-owner of Paradigm Roof & Shield, I’ve guided our team through hundreds of metal roof installation projects across Texas. My background in construction operations ensures every project meets the highest industry standards for precision, durability, and weather protection.
This guide walks you through the critical phases of the metal roof installation process, from material selection to final inspection.

Why Choose a Metal Roof? A Comparison of Materials and Benefits
The appeal of metal roofing goes far beyond aesthetics. Homeowners in McKinney, Houston, and Neptune Beach are choosing metal for its superior performance and long-term economic advantages. This section explores why metal is a leading choice, from its durability to the variety of styles available.
Metal vs. Asphalt Shingles: The Long-Term Value Proposition
While a metal roof has a higher initial cost, it offers a significantly better return on investment than traditional asphalt shingles.
Here’s why a metal roof stands out:
- Exceptional Longevity: Lasting 40-70 years, a metal roof can outlive two or three asphalt roofs, which typically need replacement every 15-20 years. This means you may only need to install one roof in your lifetime.
- Unrivaled Durability: Metal roofs offer superior protection against harsh weather. They resist hail impact, withstand high winds up to 140+ mph with proper fastening, and shed snow efficiently to prevent heavy loads.
- Superior Energy Efficiency: By reflecting solar heat, metal roofs can cut cooling costs by 15-20% annually. This is a major advantage in hot climates and leads to lower utility bills.
- Low Maintenance Requirements: Metal roofs require minimal upkeep. They are resistant to the moss, mold, and cracking that often plague asphalt shingles, especially in humid environments.
- Environmental Sustainability: Often made with a high percentage of recycled content, metal roofing is 100% recyclable at the end of its long life, reducing landfill waste.
This table puts the differences into perspective:
| Feature | Metal Roof | Asphalt Shingle Roof |
|---|---|---|
| Lifespan | 40-70 years | 15-20 years |
| 30-Year Cost | Lower (no replacements) | Higher (likely one replacement needed) |
| Maintenance | Very Low (occasional inspection) | Moderate (cleaning, repairs) |
| Wind Resistance | Excellent (up to 140+ mph) | Good (up to 110-130 mph) |
| Fire Rating | Class A (non-combustible) | Class A (with proper underlayment) |
Exploring Metal Roofing Materials: Steel, Aluminum, and More
The term “metal roof” covers several materials, each with unique benefits. Understanding them is key to selecting the right roof.
- Galvanized Steel (G-90): A cost-effective and durable option coated with zinc to prevent rust.
- Galvalume Steel: Coated with a zinc-aluminum alloy for superior, long-term corrosion resistance.
- Aluminum: Lightweight and inherently rust-proof, making it ideal for coastal areas like Neptune Beach, FL, where saltwater exposure is a concern.
- Copper and Zinc: Premium, long-lasting (100+ years) metals that develop a beautiful patina over time. Their high cost typically reserves them for high-end architectural projects.
- Stone-Coated Steel: Products like DECRA combine steel’s durability with the look of traditional tile, shake, or shingles. The granule coating adds texture and dampens noise.
To dive deeper into steel options, you can learn about the Advantages and Disadvantages of Steel Roofing.
Understanding Metal Roof Profiles and Styles
Beyond material, metal roofing comes in various profiles that define its look and installation method.

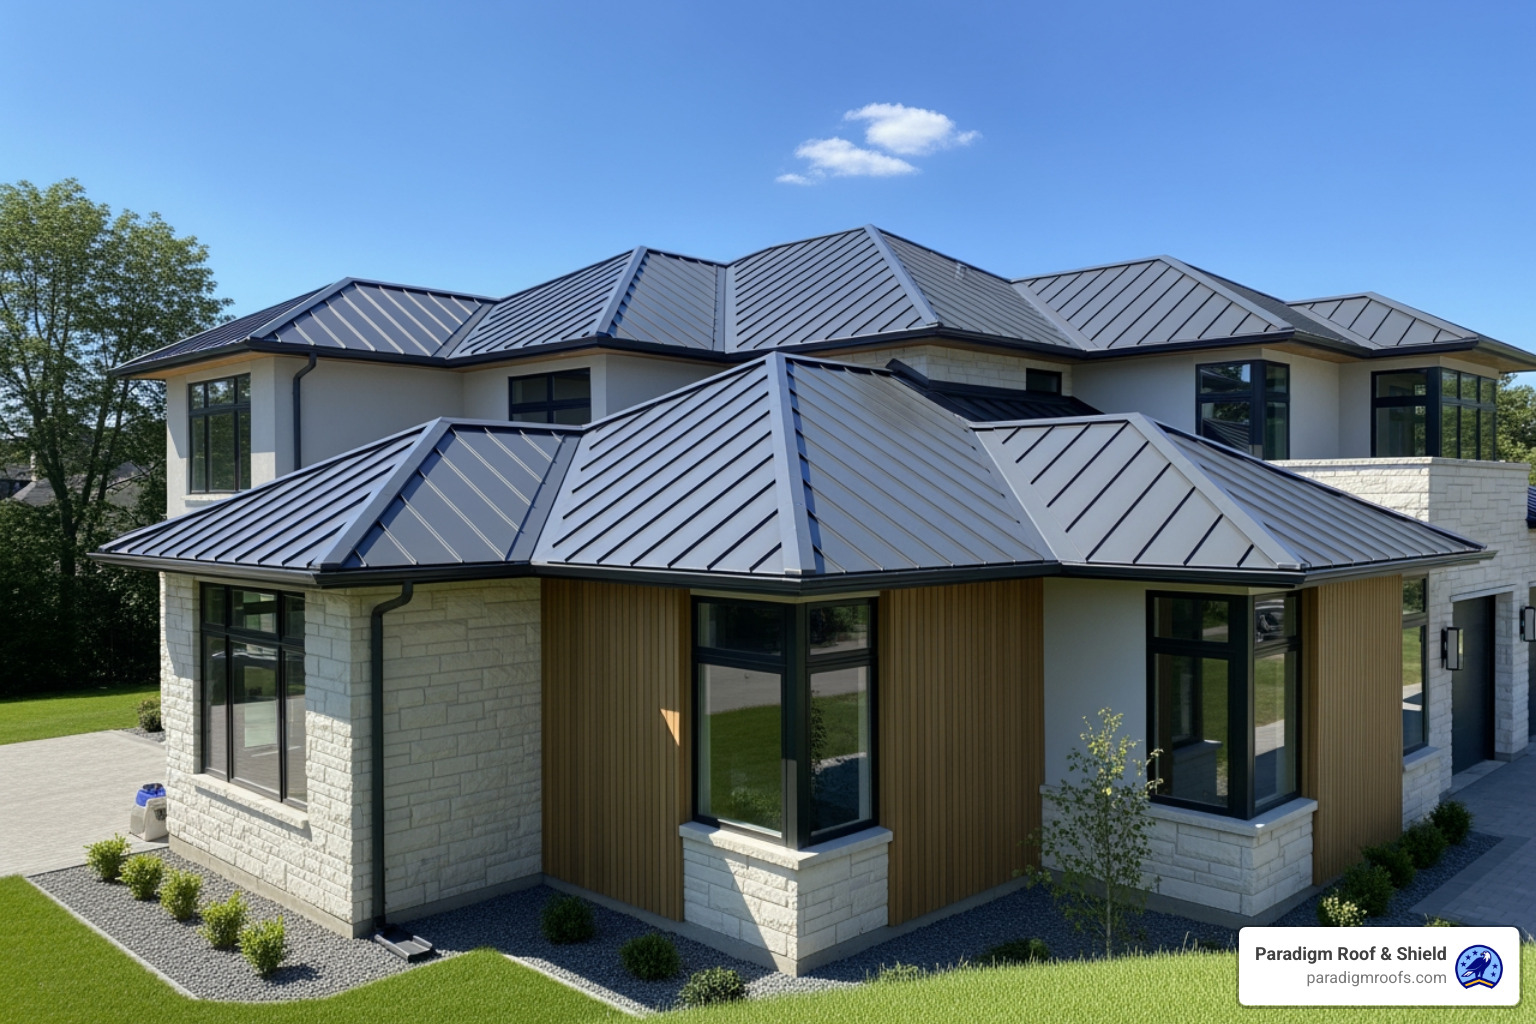
- Standing Seam: The premium choice for homes, featuring raised vertical seams and a hidden fastener system. This provides a sleek, modern look and superior weather protection.
- Corrugated Panels: A cost-effective option with a wavy or ribbed profile and exposed fasteners, common on barns, outbuildings, and some contemporary homes.
- Metal Shingles, Shakes, and Tiles: These profiles mimic the look of traditional materials like asphalt shingles or wood shakes but provide the superior performance and durability of metal, offering great architectural versatility.
Planning Your Metal Roof Installation: A Professional’s Checklist
Proper planning is the foundation of a successful metal roof installation. High-quality materials won’t perform without meticulous preparation. This section covers the essentials, from cost estimation to preparing the roof deck.
Essential Tools, Materials, and Cost Estimation
A professional installer arrives with specialized roof tools and a precise material list.
Essential Tools:
- Clutch-type Screw Gun with Depth Control
- Metal Snips (Left, Right, Centerline)
- Electric Metal Shears or Nibblers
- Chalk Line
- Safety Harness and Fall Protection Gear
- Caulking Gun & High-Quality Sealants
- Hand Seamer & Rivet Tool
Essential Materials:
- Metal Panels (Chosen Profile)
- High-Temperature Synthetic Underlayment
- Drip Edge, Valley, Gable, and Ridge Flashing
- Pipe/Vent Flashing Boots
- Appropriate Fasteners with Sealing Washers
- Butyl Tape Sealant
- Foam or Rubber Closure Strips
Cost and Material Calculation:
Expect a metal roof to cost two to three times more than asphalt shingles upfront, an investment balanced by its long lifespan and low maintenance. Accurate material calculation is crucial. We measure the roof’s square footage, lineal feet of all edges (eave, rake, ridge, etc.), and count all penetrations. Ordering about 10% extra material is a best practice to account for cuts and waste. For complex jobs, professionals use roofing calculator tools like DECRA | EagleView US for precise material lists.
Preparing the Roof Deck and Installing Underlayment
The integrity of your roof starts with a solid foundation. This step is non-negotiable for a watertight, long-lasting system.

Roof Deck Preparation:
We almost always recommend a full “tear-off” of the old roofing materials. While some codes permit installing metal over a single layer of shingles, a tear-off allows us to inspect the roof deck for rot or damage and perform necessary repairs. This ensures a flat, structurally sound substrate for the new metal panels.
Installing Underlayment:
Underlayment is a critical secondary moisture barrier. For metal roofs, we exclusively use high-temperature synthetic underlayment. It’s far more durable than traditional felt paper and won’t wrinkle or degrade under the heat of the metal. Proper installation is key:
- Start with a clean, dry roof deck.
- Roll out the underlayment smoothly, avoiding any wrinkles.
- Overlap each course correctly (typically 3 inches on the sides and 6 inches at the ends) to ensure water is properly shed.
The Step-by-Step Guide to a Flawless Installation
With the roof deck prepared, the metal roof installation begins. This phase demands precision at every step to create a watertight system that lasts for decades.
Installing Flashing, Trim, and the First Panels
Protecting the roof’s edges is the first priority. This is where a roof is most vulnerable.
- Drip Edge: This trim is installed at the eaves (under the underlayment) to direct water into the gutters and protect the fascia board.
- Valley Flashing: In valleys where two roof planes meet, a W- or V-shaped metal flashing is installed to create a durable water channel.
- Gable/Rake Trim: This trim is installed along the sloped gable ends to provide a clean finish and protect against wind-driven rain.
- Closure Strips & Sealant: At the eaves, foam closure strips shaped to the panel’s profile are installed with butyl tape. This creates a watertight barrier that prevents pests, water, and debris from getting under the panels.
- Squaring the Roof: Using the 3-4-5 method, we establish a perfectly square reference line to ensure all panels are installed straight.
- First Panel: The first panel is carefully placed along the gable eave, aligned with the square line, and set with a 1-inch overhang to ensure water drips cleanly into the gutter.
Best Practices for a Watertight Metal Roof Installation
Laying the panels correctly is what guarantees a leak-free roof.
- Panel Sequence: We install panels from one end to the other, ensuring each panel’s drainage channel is correctly overlapped by the next to direct any moisture away.
- Fastener Placement: Using a clutch-type screw gun, we set fasteners to compress the rubber washer without over-tightening. Screws are placed strategically at the eaves and in rows no more than 24 inches apart.
- Handling Penetrations: Roof penetrations like pipes and vents are primary sources of leaks if not handled correctly. We use specialized flashing boots and kits designed for metal roofs, sealing them carefully to the panel to create a permanent, watertight seal.
Avoiding common errors is crucial for longevity. To learn more, read about 3 Common Metal Roofing Installation Mistakes.
Finishing Touches: Ridge Caps and Final Inspections
The final steps lock in the roof’s weather protection and complete its finished look.
- Install Ridge Caps: After applying outside closure strips and sealant along the roof’s peak, the ridge cap is installed to cover the intersection.
- Fasten the Cap: The ridge cap is securely fastened with screws driven through every rib into the roof deck, completing the watertight system.
- Thorough Cleanup: We carefully clean all metal shavings and debris from the roof surface. Even tiny fragments can rust and cause stains, so we use magnets and brooms to ensure a pristine finish.
- Final Inspection: Our veteran-led team performs a comprehensive final inspection, checking every fastener, flashing detail, and seam to guarantee the installation meets our high standards for craftsmanship and durability.
DIY vs. Professional: Safety, Risks, and Rewards
Deciding between a DIY project and hiring a professional is a critical choice for a major investment like a metal roof. While saving on labor is tempting, the complexity and risks of metal roof installation often make professional work the wiser choice.
Assessing a DIY Metal Roof Installation: When Is It Feasible?
For the vast majority of homeowners, a full metal roof installation is not a suitable DIY project. A DIY approach might only be feasible for small, simple, single-pitch structures like a shed or playhouse.
For a home, the risks of improper installation are severe and costly:
- Leaks: The most common failure, leading to water damage, mold, and interior repairs.
- Panel Damage: Metal is easily scratched, dented, or bent if not handled correctly.
- Aesthetic Issues: Misaligned panels and poorly cut flashing ruin a home’s curb appeal.
- Voided Warranties: Manufacturers require installation to exact specifications to honor their product warranties, something a DIY job rarely achieves.
While guides like this one from Family Handyman show the steps, they also highlight the immense detail required, reinforcing the value of professional expertise.
The Critical Importance of Safety and Professional Expertise
Roofing is inherently dangerous, and metal surfaces add slipperiness and sharp edges. Professionals mitigate these risks by adhering to strict safety protocols, including fall protection, weather monitoring, and proper personal protective equipment (PPE).
Hiring a professional provides:
- Expertise: Professionals are trained to handle complex rooflines, penetrations, and flashing details that are beyond the scope of most DIYers.
- Specialized Equipment: They have the right tools, lifts, and scaffolding to work safely and efficiently.
- Code Compliance: Our team ensures your project meets all local building codes in areas like Houston, TX, and passes inspection.
- Workmanship Warranty: A professional installation is backed by a workmanship warranty, giving you peace of mind that the job was done right.
Long-Term Care: Metal Roof Maintenance Requirements
One of metal’s biggest advantages is its low maintenance, but it’s not zero maintenance. Simple, proactive upkeep is key to ensuring a 40-70 year lifespan.
- Annual Inspections: Visually check the roof once a year and after severe weather for loose fasteners, debris, or sealant issues.
- Clear Debris: Keep gutters and the roof surface clear of leaves and branches to ensure proper drainage and prevent corrosion.
- Check Seals: Periodically inspect the sealant around pipes, vents, and skylights to ensure they remain watertight.
Frequently Asked Questions about Metal Roof Installation
Homeowners often have similar questions when considering a metal roof. Here are clear, concise answers to the most common inquiries.
How long does a metal roof installation take?
For an average-sized home, a professional metal roof installation typically takes 2 to 5 days. The exact timeline depends on the roof’s size and complexity, weather conditions, and whether a full tear-off of the old roof is required.
Are metal roofs noisy in the rain?
No, this is a common myth. A modern metal roof installed correctly over a solid roof deck with proper underlayment and attic insulation is no louder than an asphalt shingle roof. The layers between the metal and your living space effectively deaden the sound.
Can you install a metal roof over existing shingles?
It is not recommended. Although some local codes may permit it, a full tear-off of the old shingles is the best practice. This allows for a thorough inspection of the roof deck for rot or damage and ensures a perfectly flat, solid surface for the new metal panels, which is critical for performance and warranty validity.
How do polycarbonate roof panels differ from metal roof panels?
Polycarbonate is a transparent plastic used for structures like patios, sunrooms, and greenhouses where light transmission is desired. Metal is an opaque, highly durable material used for the primary roof of a home or building, focused on providing protection, longevity, and energy efficiency.
How does the installation process differ for metal roofing versus metal siding?
The installation details differ significantly. Metal roofing installation prioritizes shedding downward-flowing water, requiring specific flashing techniques for eaves, valleys, and ridges. Metal siding installation focuses on resisting wind-driven rain and integrates with vertical details like windows, doors, and corner trims.
What are the common challenges encountered during metal roof installation and how can they be overcome?
Key challenges include managing the metal’s thermal expansion and contraction with proper fasteners, making clean cuts without damaging panels, ensuring every seam and penetration is perfectly watertight, navigating complex rooflines, and maintaining safety at all times. Overcoming these challenges is precisely why professional expertise is invaluable for a successful metal roof installation.
Conclusion: Secure Your Investment with Expert Installation
A metal roof is a significant investment in your property’s value, protection, and efficiency. While the materials are built to last up to 70 years, the quality of the metal roof installation is what determines whether you achieve that lifespan. From precise flashing to correct fastener techniques, every detail matters. The difference between a roof that performs for decades and one that causes problems lies in the hands of the installers.
As a veteran-led company, Paradigm Roof & Shield brings a commitment to technical excellence and integrity to every project. Our team understands the nuances of metal roofing for the varied climates of McKinney, Houston, and Neptune Beach. We deliver not just a roof, but a long-term solution that protects your home for generations. To ensure your investment is built to last, trust the experts.
Ready to upgrade to a durable, beautiful metal roof? Contact Paradigm Roof & Shield for an expert metal roof installation today!